|
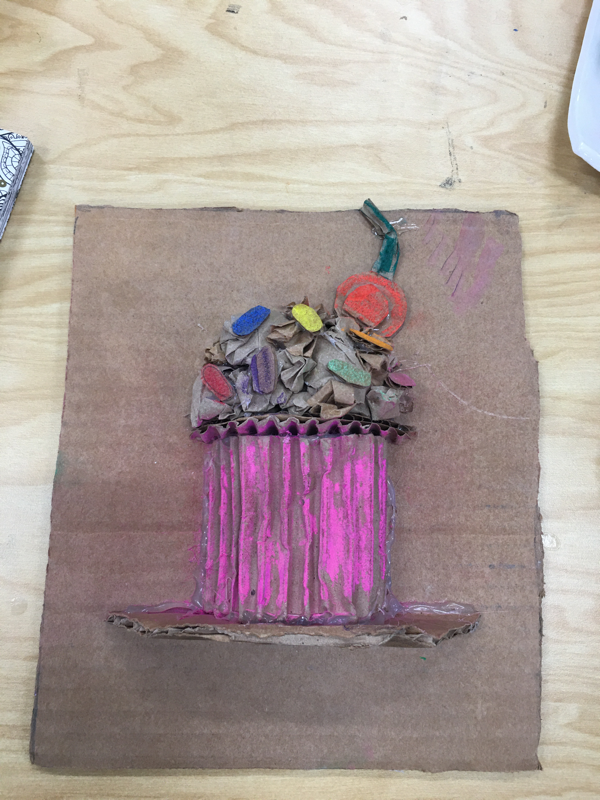
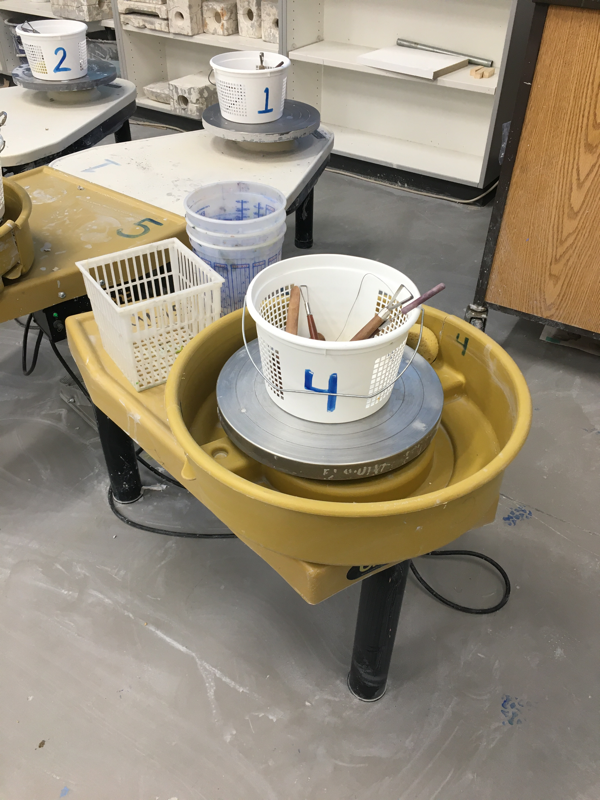
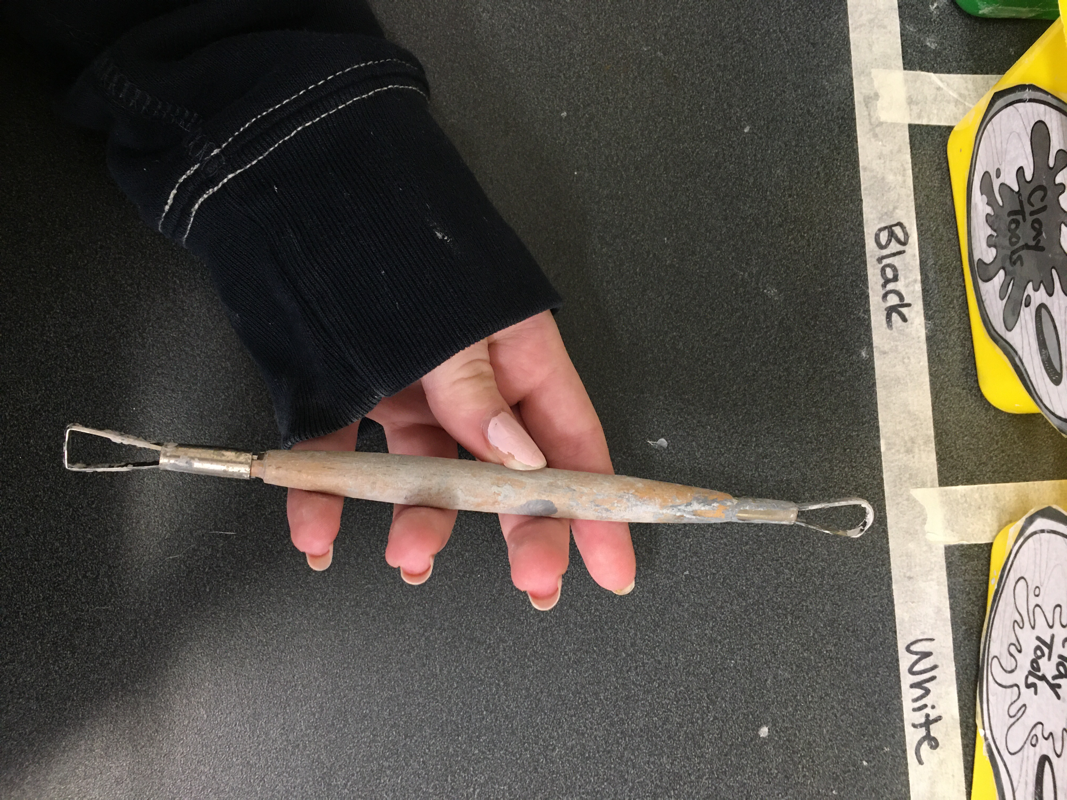
1) In creating these pieces this year a tool i mainly used and got to be familiar with was the ribbon tool. The ribbon tool is used to carve and shape out edges of hand thrown pots and pieces. The ribbon tool helps get precise details throughout. One project is used the ribbon tool on was the sgraffito piece. It helped me smooth out the edges and create the actual sgraffito pattern. 2) This has been the first art class I have taken since elementary school. I've always been involved in music departments, playing the flute. So therefore I had almost no clue how anything worked. As the days went on I got to learn about several tools and their uses. The tool I was most excited yet nervous about trying was the pottery wheel. The best feeling is when you center your pottery piece on the wheel to reveal smooth sides all around. This year I learned that the pottery wheel can be used to make any piece you wish. This year I got to make several small pot looking pieces on the wheel. After this art class I now have a better understanding of how the wheel works. 3) The piece that I found least successful was my first piece I made, my cardboard cupcake. I consider this piece least successful because the vision in my head did not portray what I created. If I were to create this project over I would consider using more details throughout. I would also increase the size of the piece. I would also recommend coloring the pieces of cardboard before glueing them on to decrease the blank spots in the creases. 4) My favorite material to use this year would have to be clay. I think my favorite thing about clay is how many possible options you have with creating it. You can make it into small details or large with less details. There's also several ways to create your visions. One example being the pottery wheel, another being just simply rolling it out. You could make flat, tile looking pieces, or 3D objects. Clay is a fun material to use. 5) My least favorite material to work with would have to be cardboard. It's a hard material to fold and is hard to glue pieces of cardboard together. Cardboard also gets weak and caves in easily when wet which can ruin a piece. It's also very difficult to color on cardboard with the chalk. The color is very vibrant but not as pigmented and hard to color in small spaces.
0 Comments
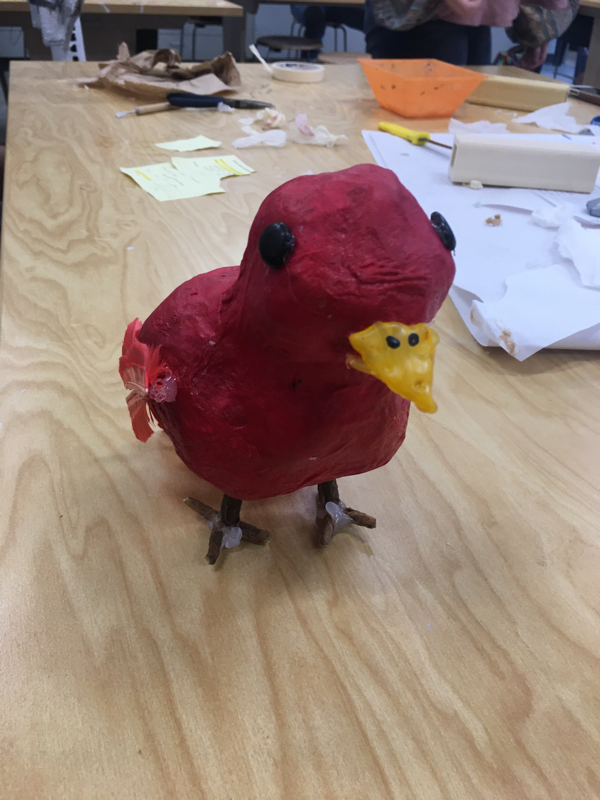
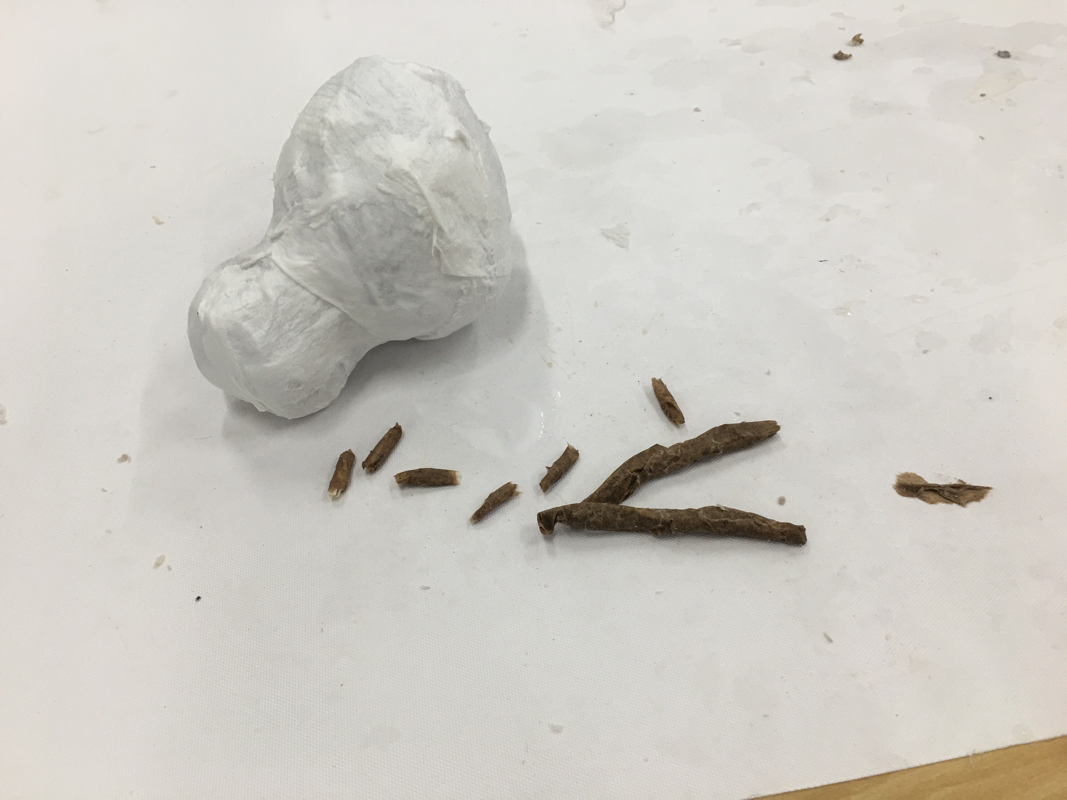
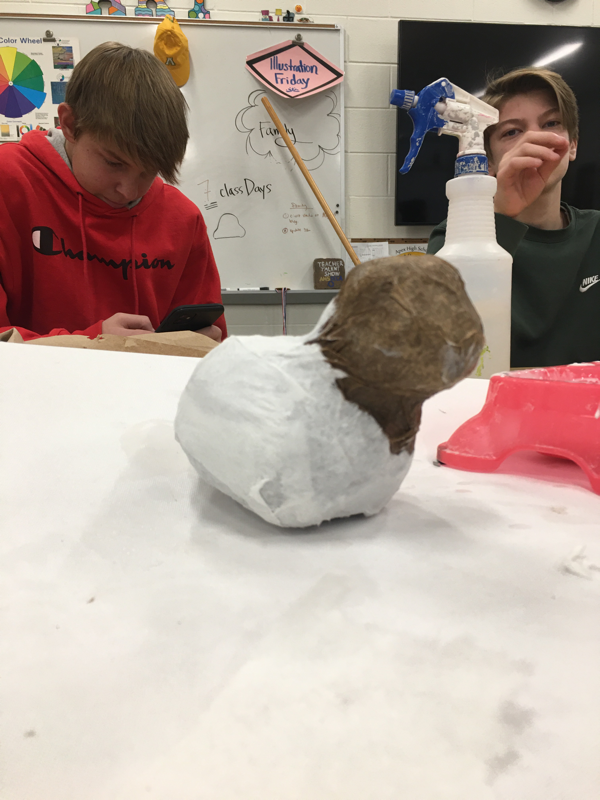
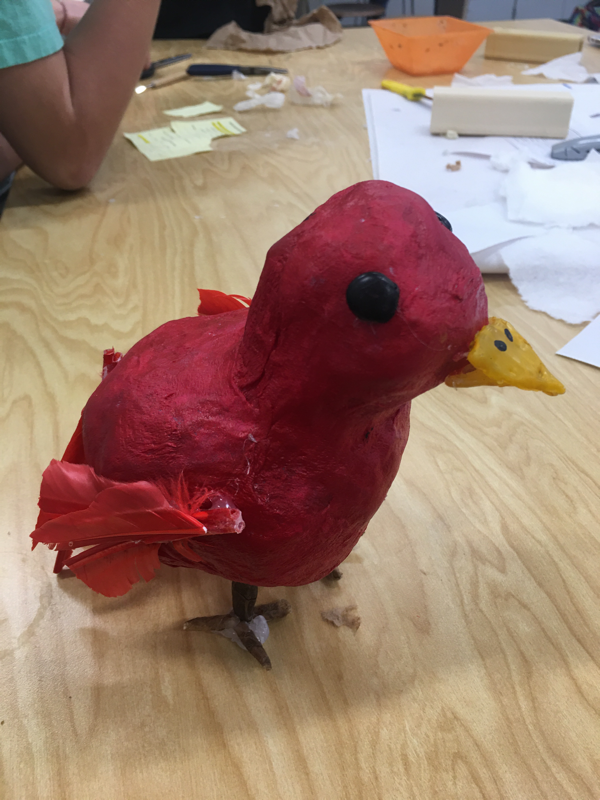
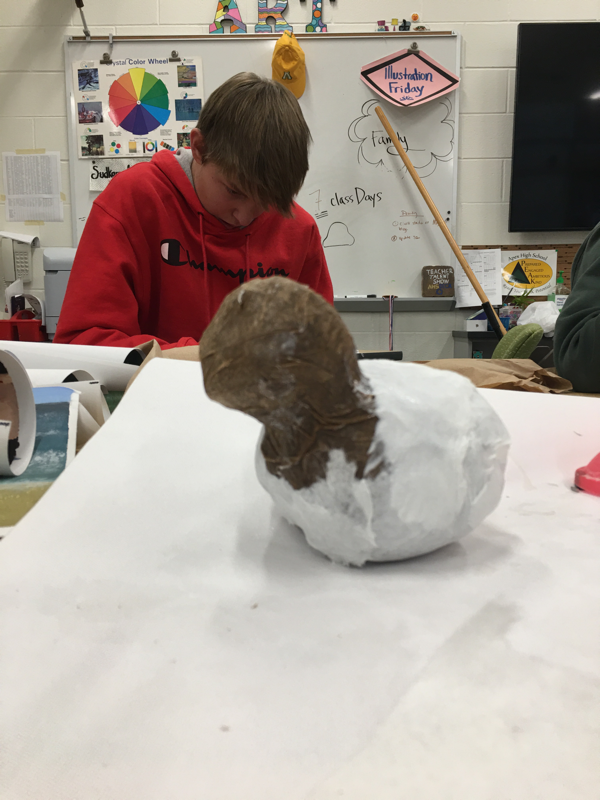
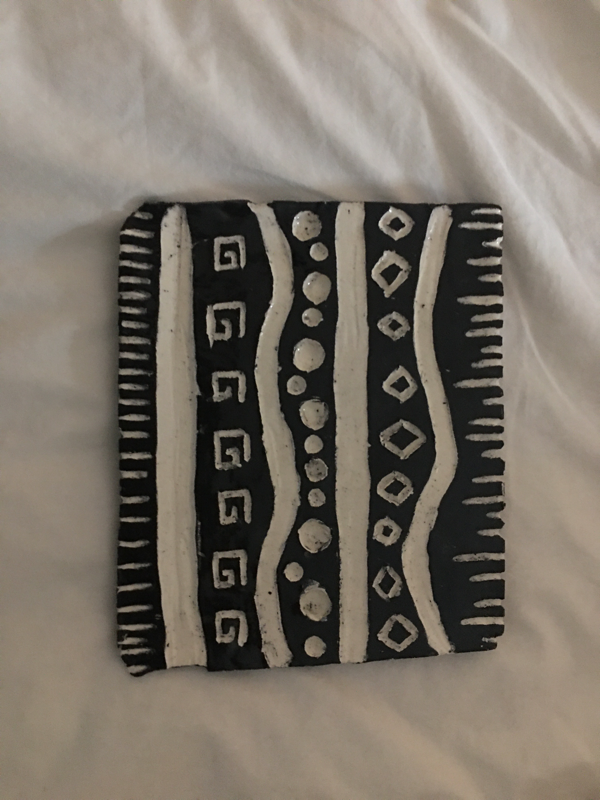
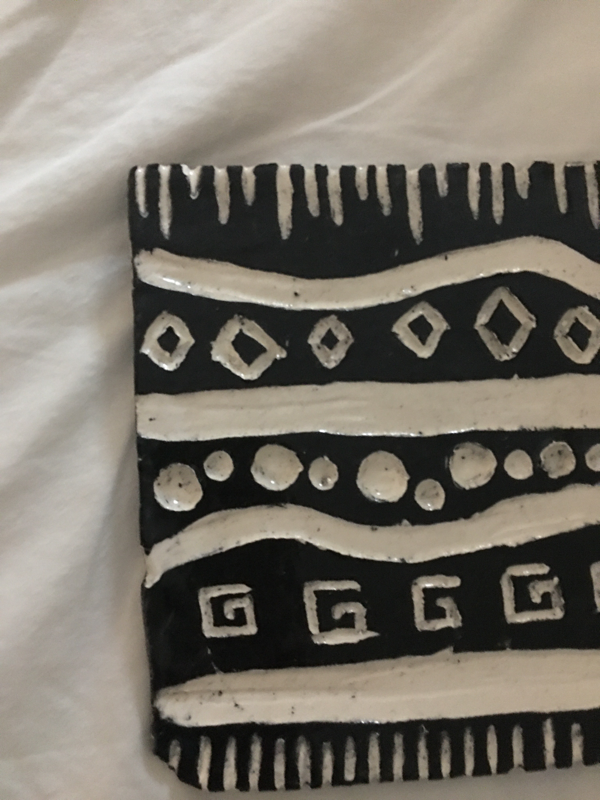
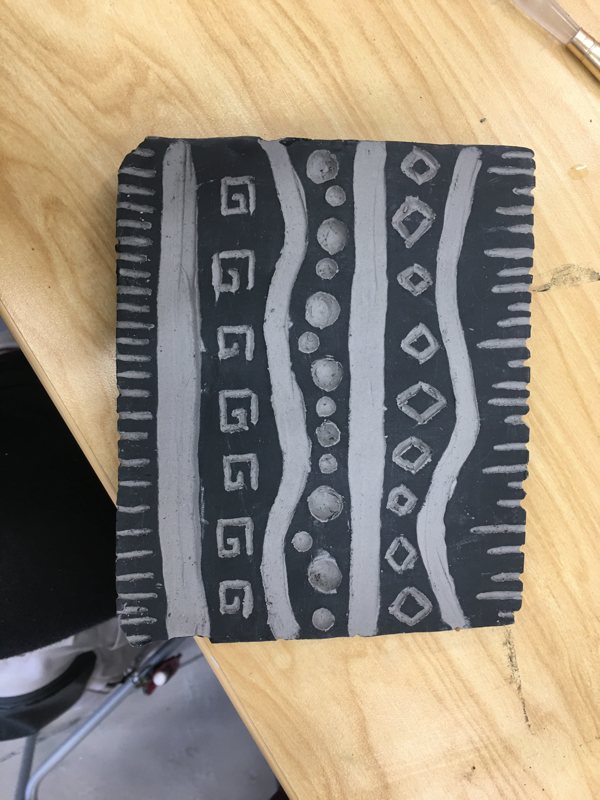
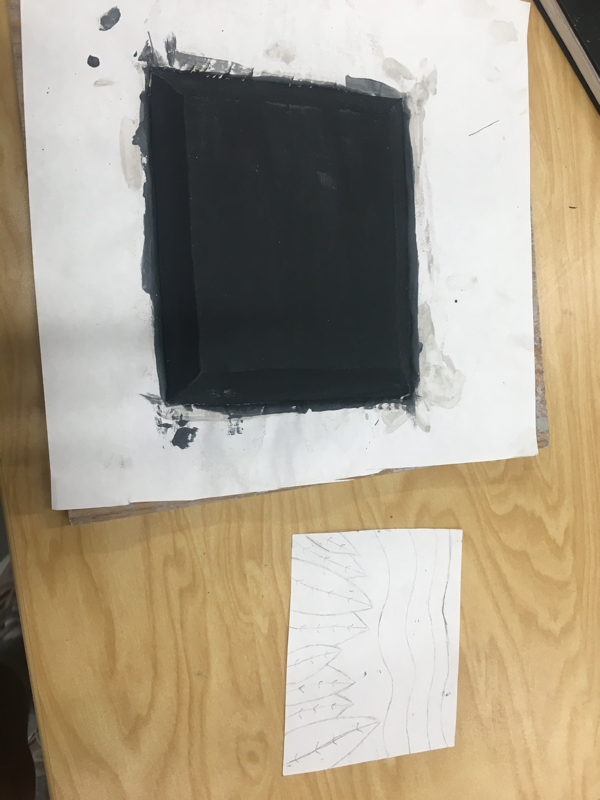
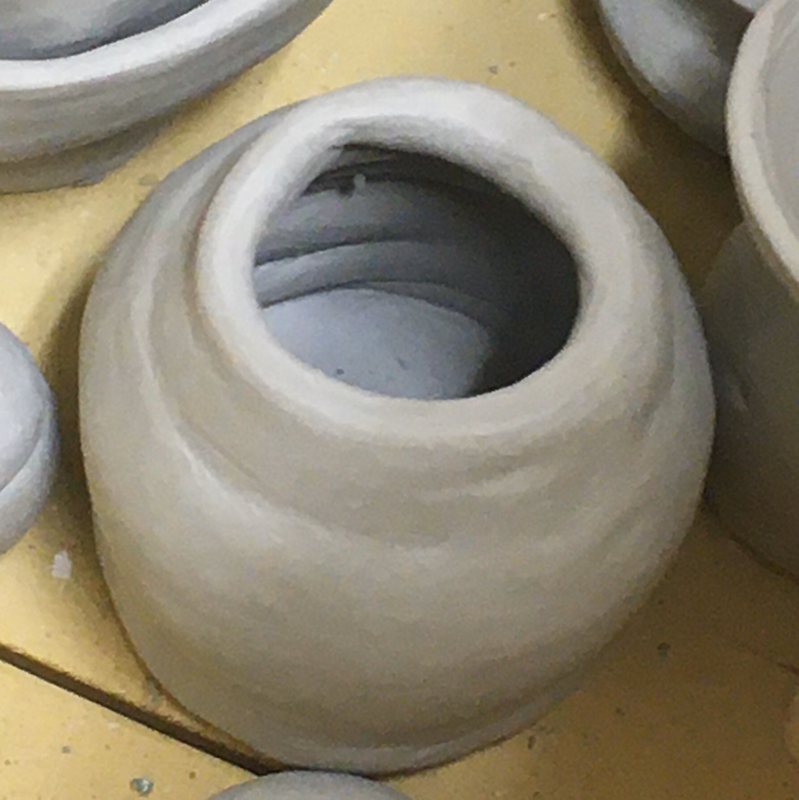
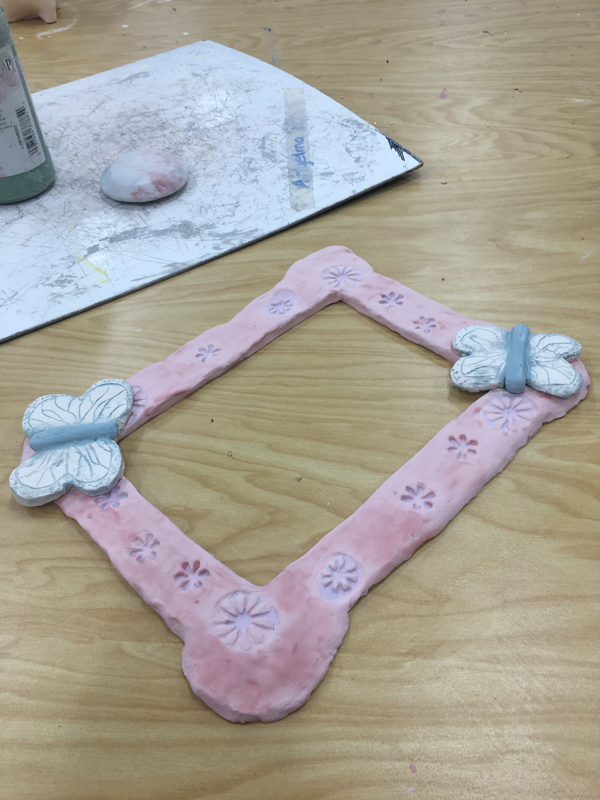
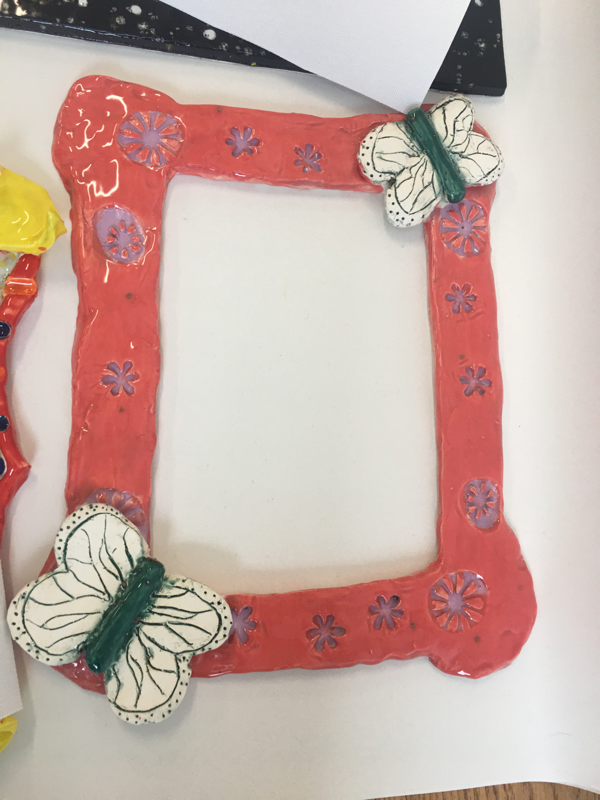
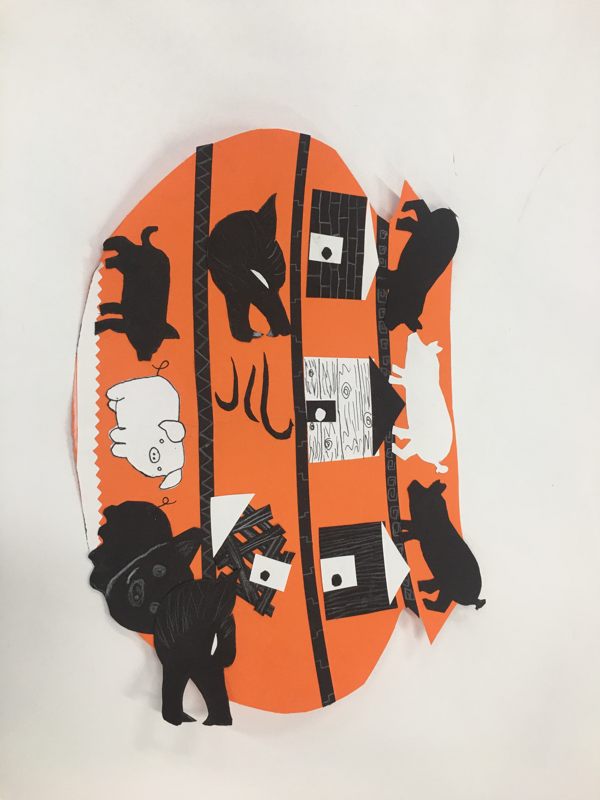
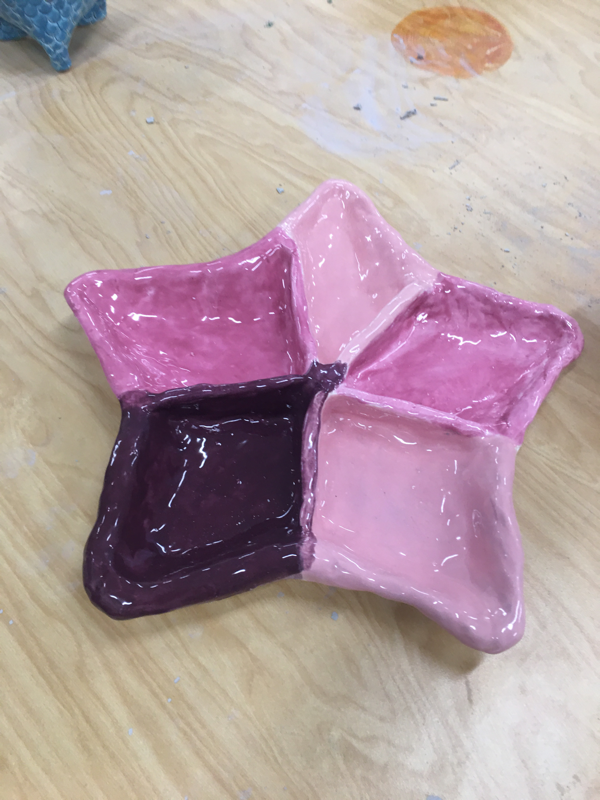
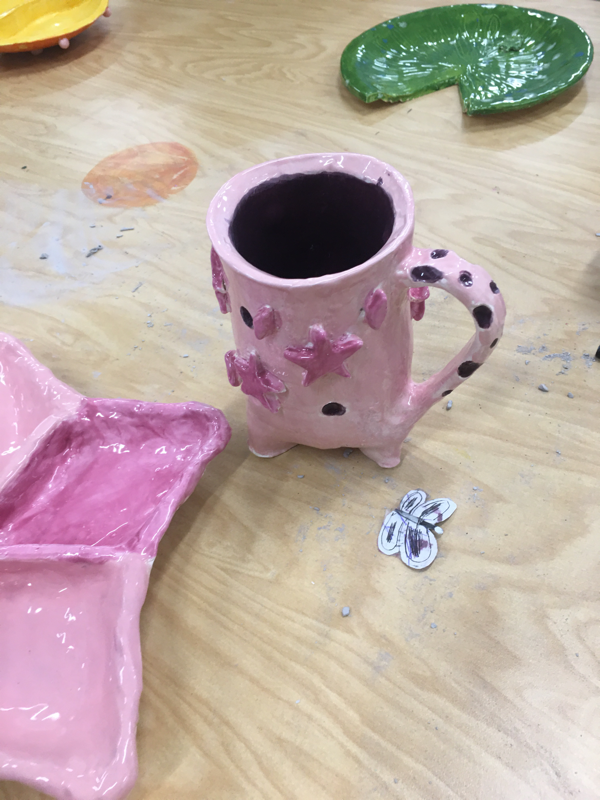
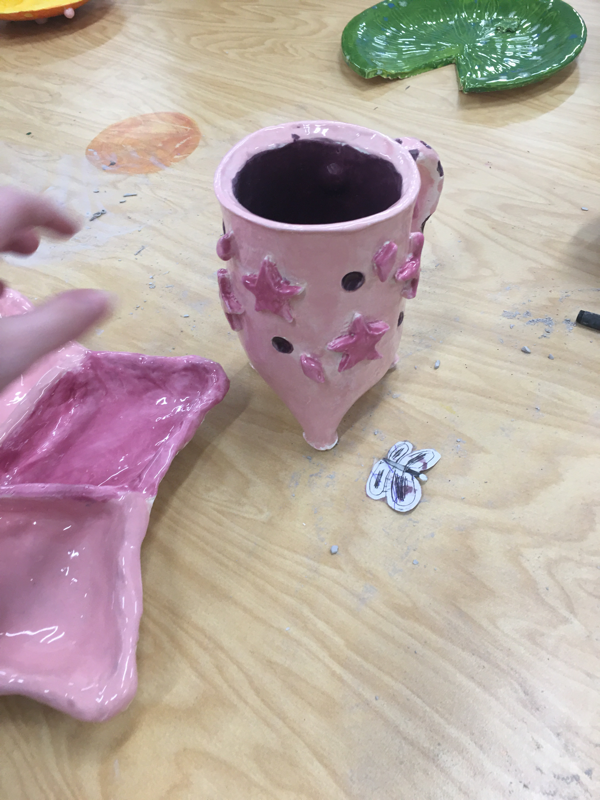
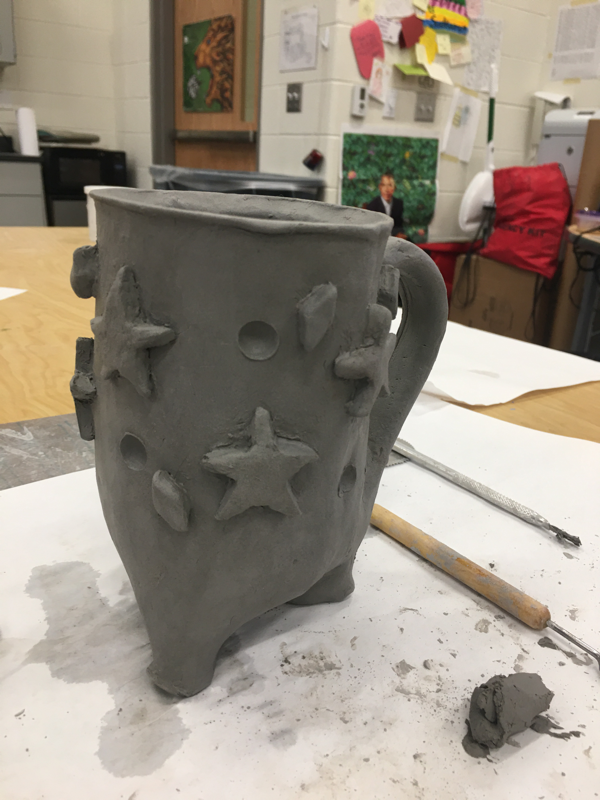
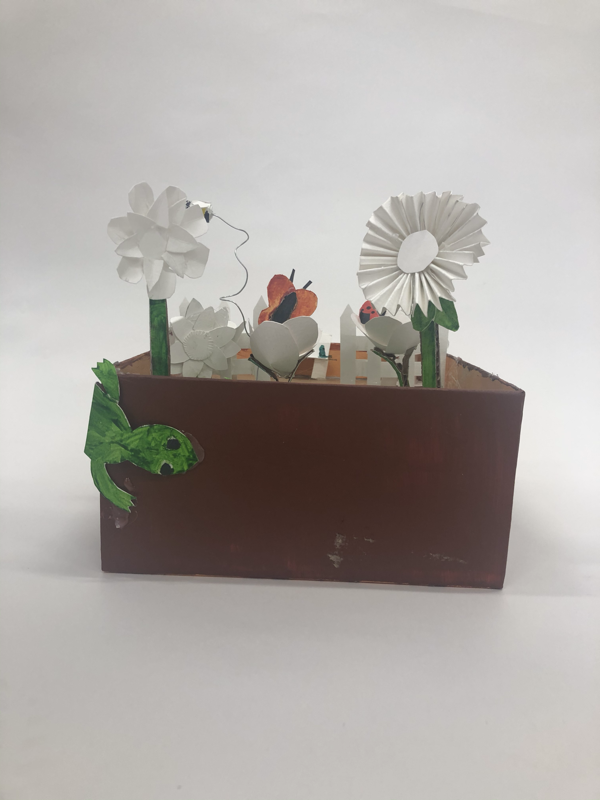
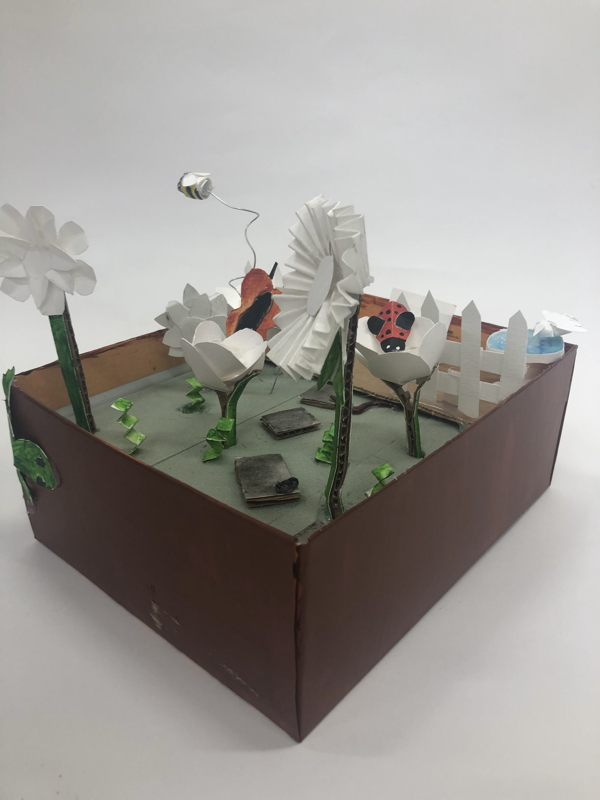
1) The process of paper mache is basically layering a bunch of glue filled paper products on top of each other to form 3D objects. 2) my piece was successful because I think my end result actually looked like the bird I hoped. I wanted to create a cartoony yet realistic looking bird which I think I accomplished. Although it doesn’t have much detail I think it’s easy to tell what the actual animal is. 3) I think the most difficult thing about this piece was the layering. I started off with a ball of paper & tape which then resulted into me layering brown paper towels on it for about 2 days. Then I switched over for my final layers white viva paper towels which were very hard to apply & dry. After all those layers you need to sand it down to make it smooth. I think waiting for it to dry & the layers in general was the hardest part. 1) The process of this piece was more on the simpler side. I just rolled out clay to my liking cute the edges for dimension, traces my sketch & then carved it out. 2) I think the sgraffito process is very unique. I love how creative you can get. You can make pieces that are 3D to piece that could be hung flat on the wall. You could also even tell a story through sgraffito art which is pretty awesome. 3) My piece was most successful because the image I had in my head of a bathroom looking tile piece is what I demonstrated while creating this piece. If I could go back & change anything I would make my piece a little bit more detailed to show how unique & precise these pieces can get. 1) For this piece I got inspired by the pretty bathroom tiles you see when you walk into a beautiful bathroom. I love how unique each square or tile is. I wanted to create a detailed yet simple design people might find on a floor. 2) to sum up my process of this piece I first started by squishing down the clay & rolling it out thicker than normal. Once I got the right thickness I cut out a template & cut out a square shape. Then to create the tile face I carved out the sides to create dimension. I then traced my design onto the tile & carved it out with multiple clay tools until I was happy with the end result. 1. I used the coil method to make this piece 2. I think blending all the coils have been the hardest for me as well as making all the coils even to fit the piece 3. I have planned to make my piece very colorful. My plan definitely changed because the original pot kept breaking and falling down so I made my piece more strong at the bottom to support it. 1. My theme was butterflies with bright, happy colors. I showed it by making two butterflies and painting the actual frame a bright pink. 2. I found making the details in the butterflies to be successful 3. I would of added more flowers and smaller details 4. First I made the actual frame shape and then made butterflies separate eventually I attached to the frame on the places I wanted, I also added stamps throughout 1. Laces. There are specimens of woven fabrics of a lace like character. 2. I worked on making the three little houses shown, and a pig. And the designs on the separation bar 3. Sgraffito- Italian works to scratch Register- the way speakers tell the story in the piece they made 1. The process of my tripod mug and plate was a pretty easy process. I got to use some smaller details while keeping the piece big overall. Since my plate was a star towards the end I decided to make it a sectioned mug, making each point of the star a section. My mug I was inspired to use detail, hence why I added loads of stars throughout. 2. I made the handle in the shape of a moon to match the overall “night sky” theme. I used the method of smearing half of the handle down flat while keeping the rest of the handle up. 3. I found the stars on my mug most successful. I was also able to keep the color scheme throughout my pieces to match. I would add even more types of stars and maybe add more details to my plate if I got a chance to do it again. 4. Clay slab: a piece of clay that has been rolled out 1. My plans for these pieces are to make a mug as well as a Plate to create an OUTER-SPACE, night time sky inspired work. |